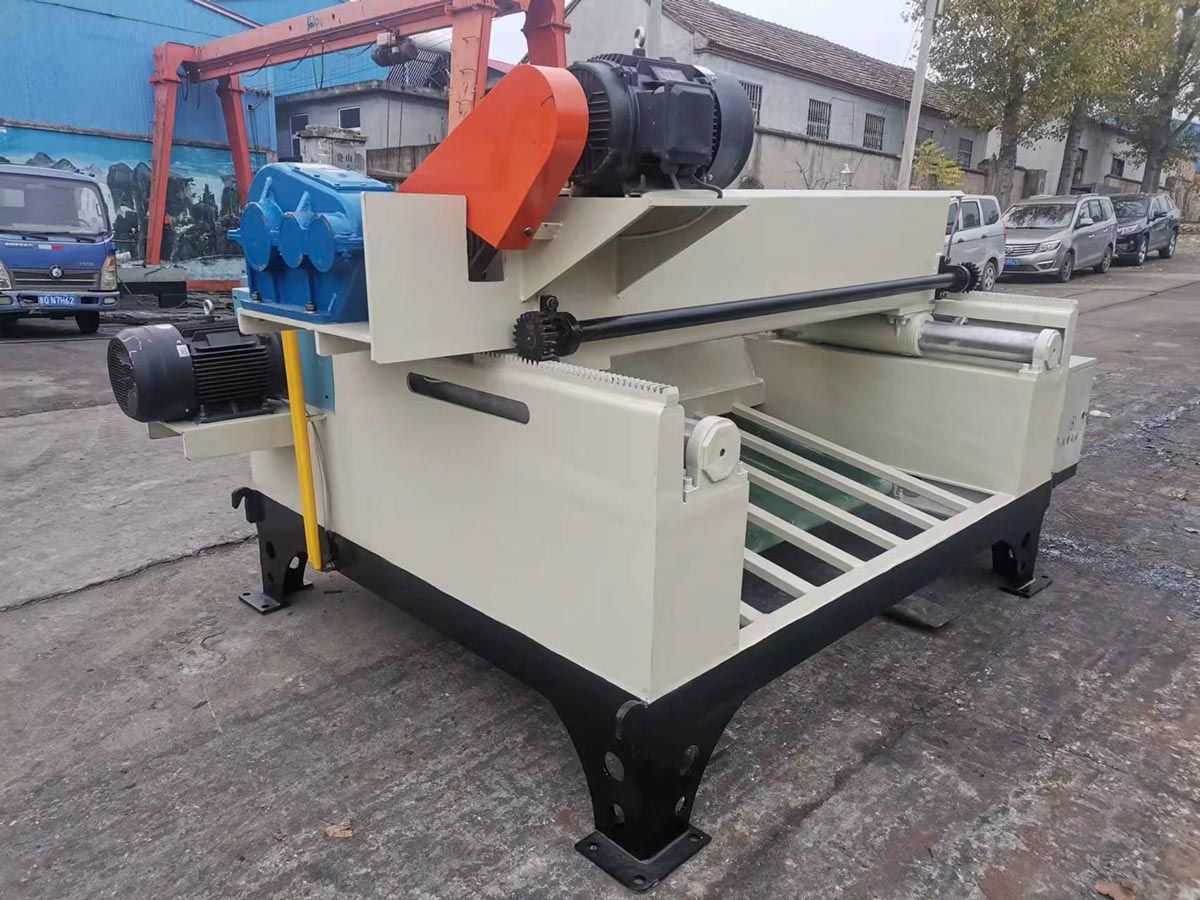
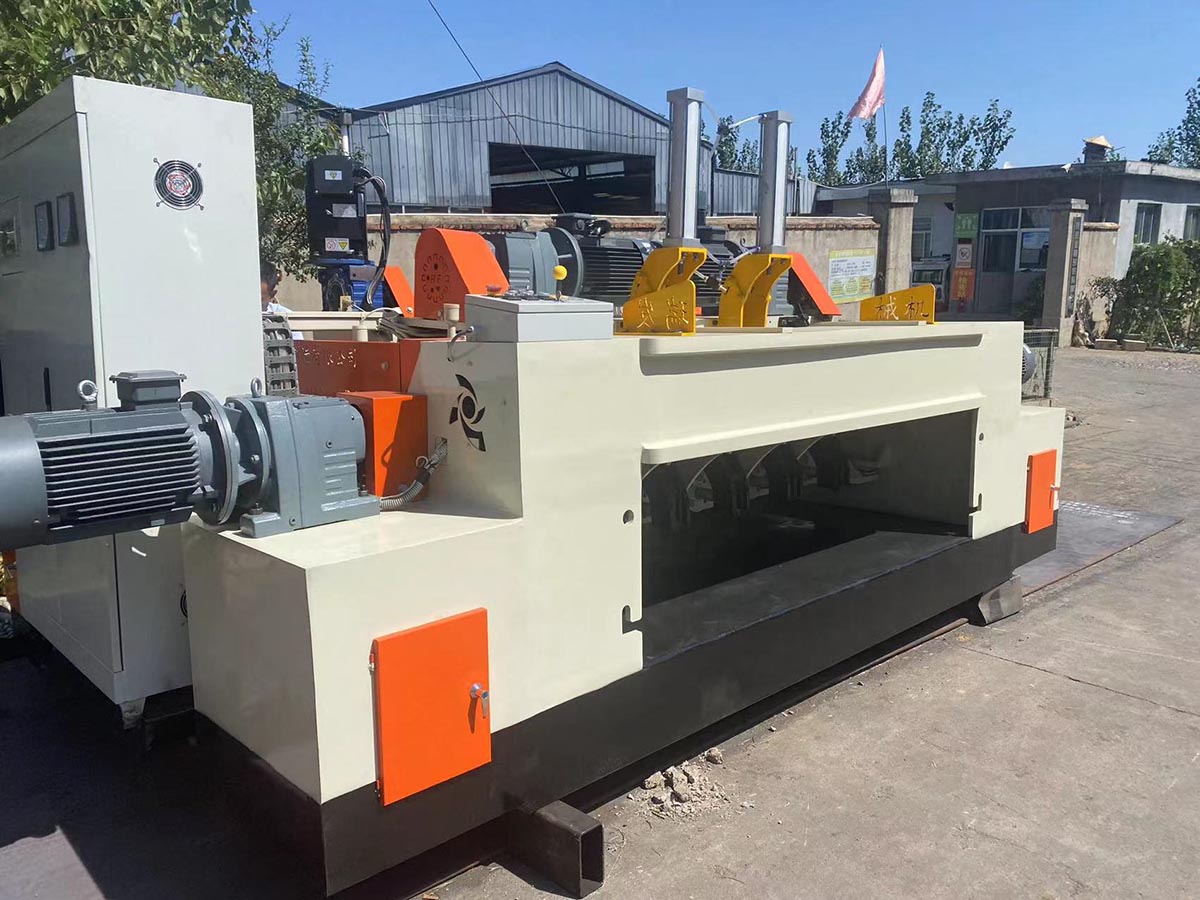
After the installation of the veneer rotary cutting machine, it is necessary to ensure stable operation of the equipment through system debugging. Firstly, perform mechanical debugging to check whether the installation of each component of the rotary cutting machine is firm. The gap between the cutting tool and the cutting table should be strictly controlled between 0.1-0.3mm. Confirm that the spindle rotates smoothly and there is no jamming phenomenon through manual turning. At the same time, check the transmission system, adjust the tightness of the belt or chain, and ensure smooth power transmission.
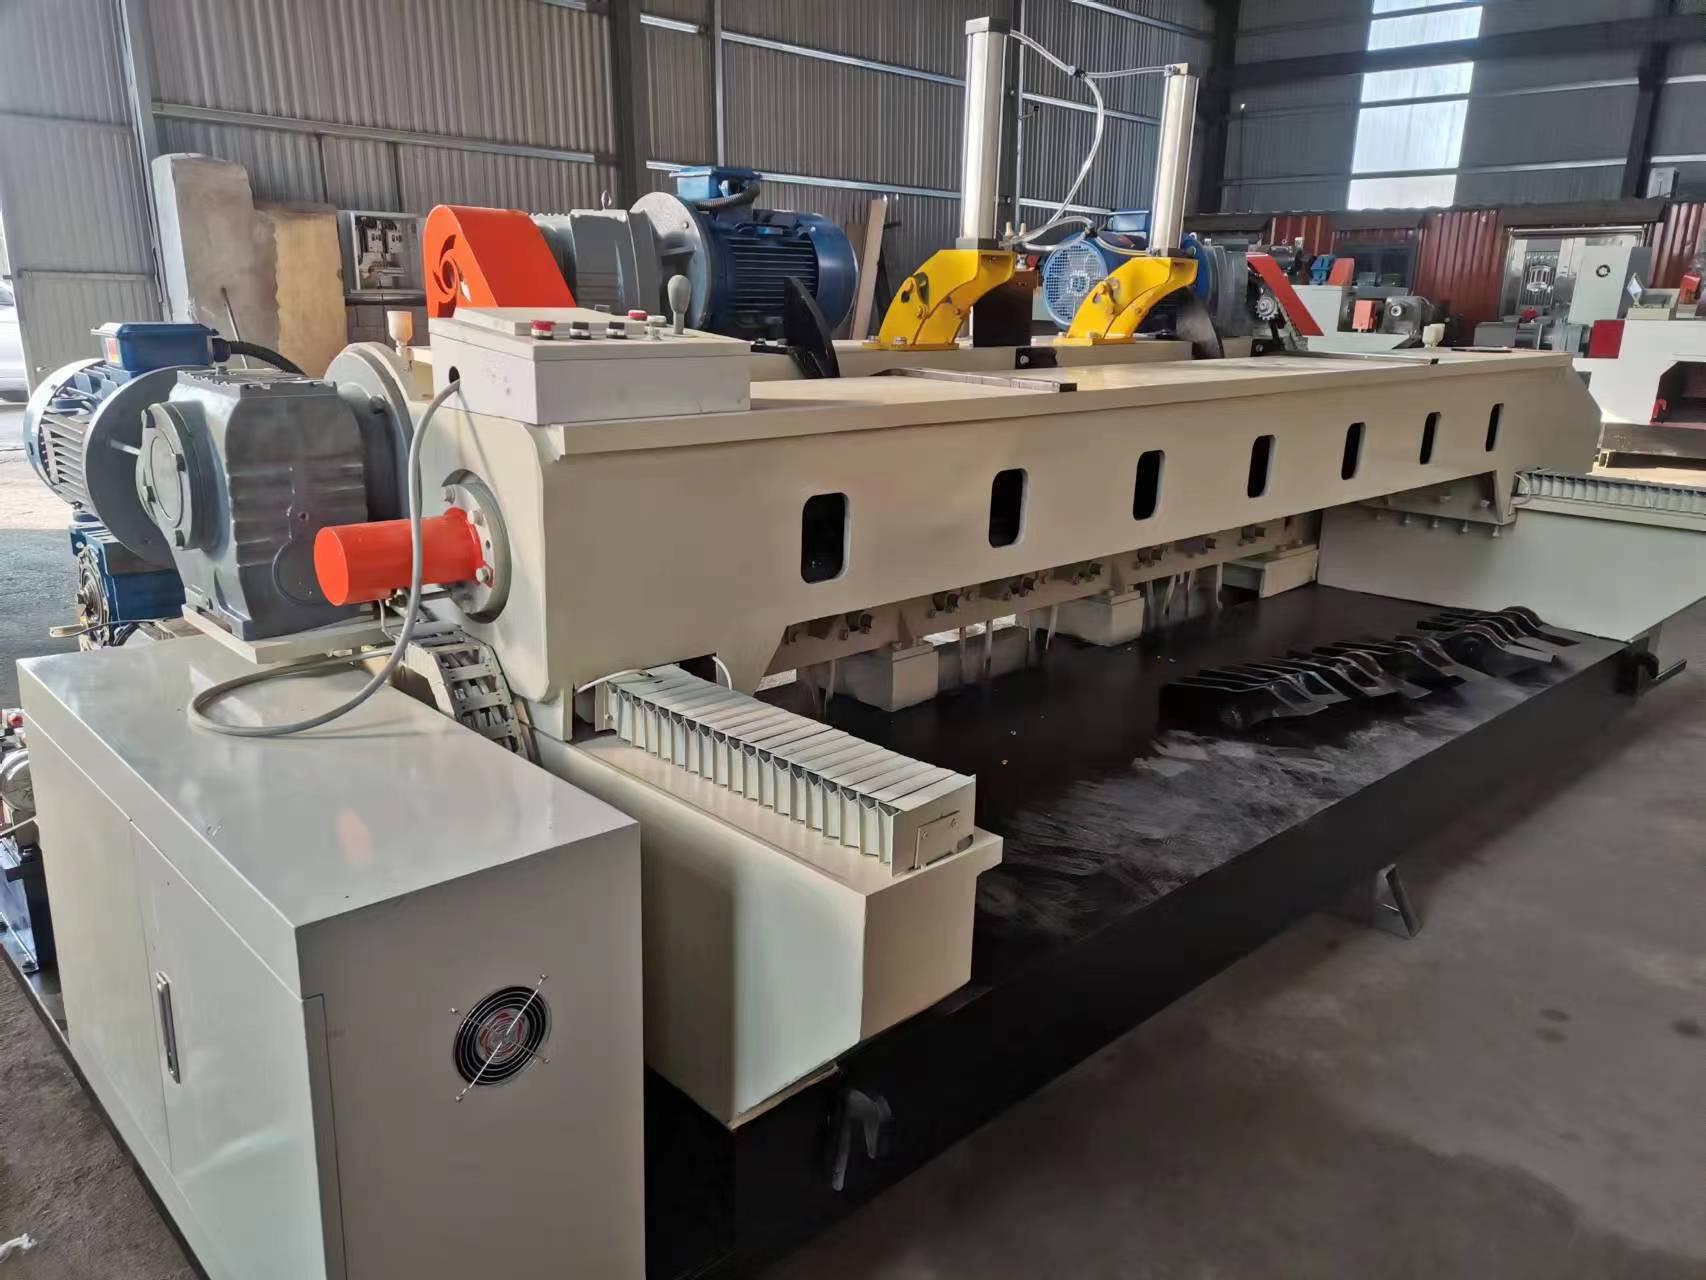
During the electrical debugging phase, it is necessary to carefully check the circuit connections to ensure correct wiring and reliable grounding. Before starting the equipment, conduct a no-load trial run to observe whether the motor rotation meets the requirements, check the working status of each electrical component, set the parameters of the frequency converter, and ensure that the equipment speed meets the process requirements.
Finally, there is performance debugging, installation of logs for trial cutting, and testing of the thickness accuracy of the rotary cutting veneer. By adjusting parameters such as blade height and feed rate, the veneer thickness error is controlled within ± 0.1mm. At the same time, observe the surface quality of the rotary cutting. If there are problems such as wave patterns, the tool angle and equipment levelness need to be recalibrated until they meet the production standards.
The above covers the core steps of debugging the veneer rotary cutting machine. If you would like to learn more details about debugging or have other technical requirements, please feel free to let me know at any time.
 Precautions for using the log p
01 January,1970
 Precautions for maintenance of
01 January,1970
 What Are the Advantages of Mesh
01 January,1970
 What are the specifications of
01 January,1970
 Use process of rotary cutting m
01 January,1970
 How to repair and maintain the
01 January,1970
Linyi Guoyu Machinery Co.,Ltd
Contact: Luna Jiang
Tel: +86 13385391861
Email: lunamachines@outlook.com